Tuesday, August 22, 2023

MY continued love (hate) affair with silk neckties

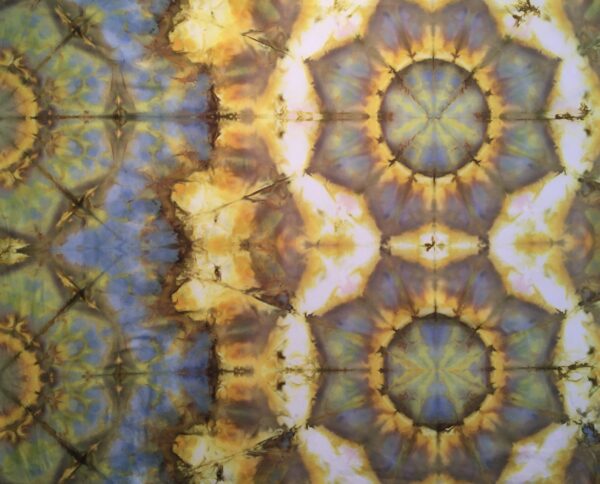
A week or so ago, on one of our weekly POM Zoom meetings, I showed this scarf which I had dyed from necktie bits and pieces leftover from the Torah Tie Project, currently known as Of Biblical Proportions.

Any references to that project can be seen at thetorahtieproject.blogspot.com.

I volunteered to show the process.  Here goes:

I was left with a bin of tie bits.

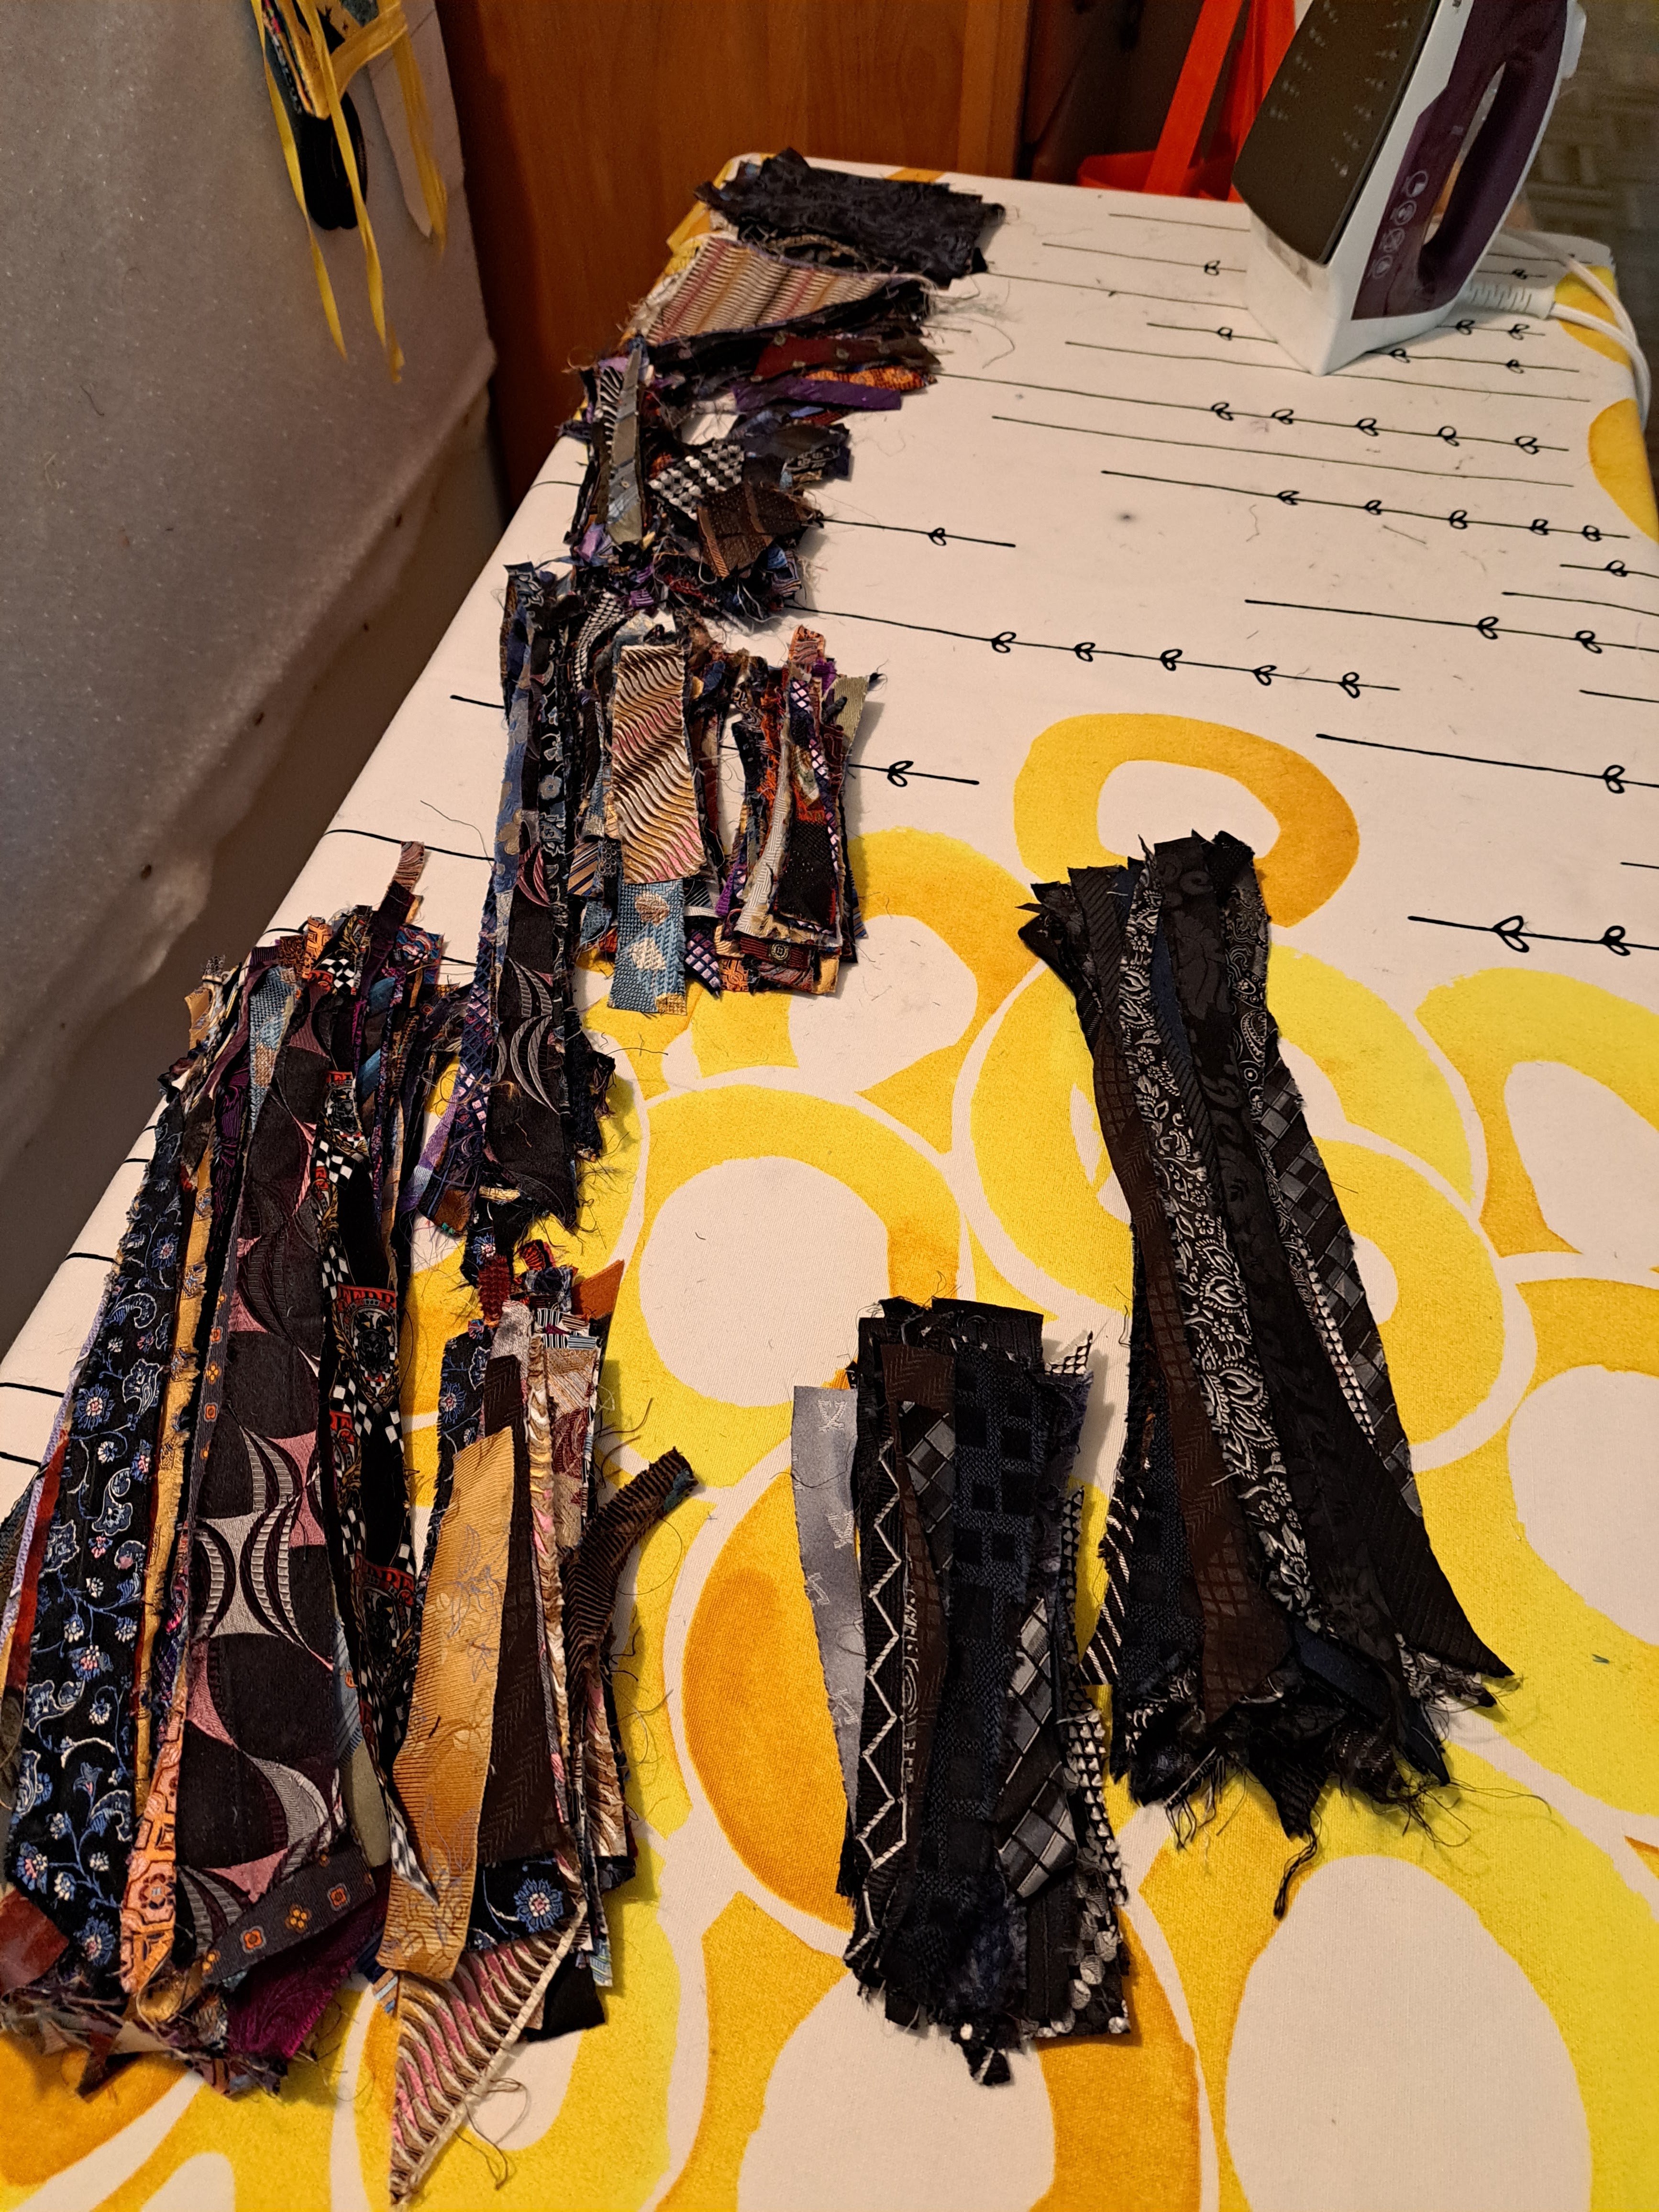
I spent three days ironing and sorting them.  And this is what I got:
 
I used this 11.25" wide by 60" long 5 mm pongee silk scarf which I bought at G & S Dyes.


I cut a piece of cotton fabric (i.e. old sheet) slightly larger than the scarf and laid it out on a flat surface.

I then laid the silk scarf on top of the cotton piece.  The chopstick marks the half-way mark of the scarf length.

I decided to use odds and ends bits instead of strips this time.I then laid the random sized pieces of silk tie bits on the silk scarf, up to the half-way mark.

Folded the second half of the scarf back over the first half, removing the chopstick...

Folded the second half of the cotton piece over top of the scarf.


Rolled the cotton-scarf combo from the narrow open end into a roll.  Roll from the open end otherwise the rolling motion will push the pieces out from the scarf.  Ask me how I know...

 Tie the roll with string, thread or bits of ties so that the roll is tied at both ends and once or twice in the middle.


I decided to also experiment to see if the dyes from the ties would dye cotton.

Same procedure as for the silk scarf roll.


Bring a pot of water to a boil.  This has to be a dedicated pot, not to be used for cooking foods.

Add either 3 teaspoons or 3 tablespoons of vinegar as a mordant.  I just glugged glugged some vinegar into the pot...

Rolls ready for immersion.

Rock for stone soup or for holding the rolls under water...

Simmer for 20 minutes.

Place old towel on flat surface.  Protect surface under the towel, if necessary.  The cotton, scarf and tie bits may still be hot.  Carefully remove the tie bits.  Et voila! 


Et voila!  Hang the scarf to dry and when dry, heat set with iron on silk setting.


This dyeing method is apparently not as successful on cotton.  The colours were not as vibrant and some pieces didn't show dye at all.  Can't win em all.


Tuesday, February 21, 2023

Ice-dyeing Eye Candy

triangleABSTRACT - karenmariejohnson.com

Tape Measures - So that's what they meant

When my Aunt Zena passed away, I inherited her sewing box.  It had several tape measures.


One in particular had this:

I had no idea what the "Before" and "After" meant until I flipped the tape measure over:


...


Friday, February 17, 2023

Snow Dyeing - Round Two

So I decided to give snow dyeing another chance, this time following the correct procedure (more or less...)https://www.instructables.com/Snow-Dyed-Fabric/

1.  I soaked the fabric in soda ash overnight.


2.  I drained and folded the fabric and set it out on the rack over the laundry sink.


3.  I covered it with snow.


4.  I drizzled Jacquard Dyes from a tie dye kit my granddaughter left behind.


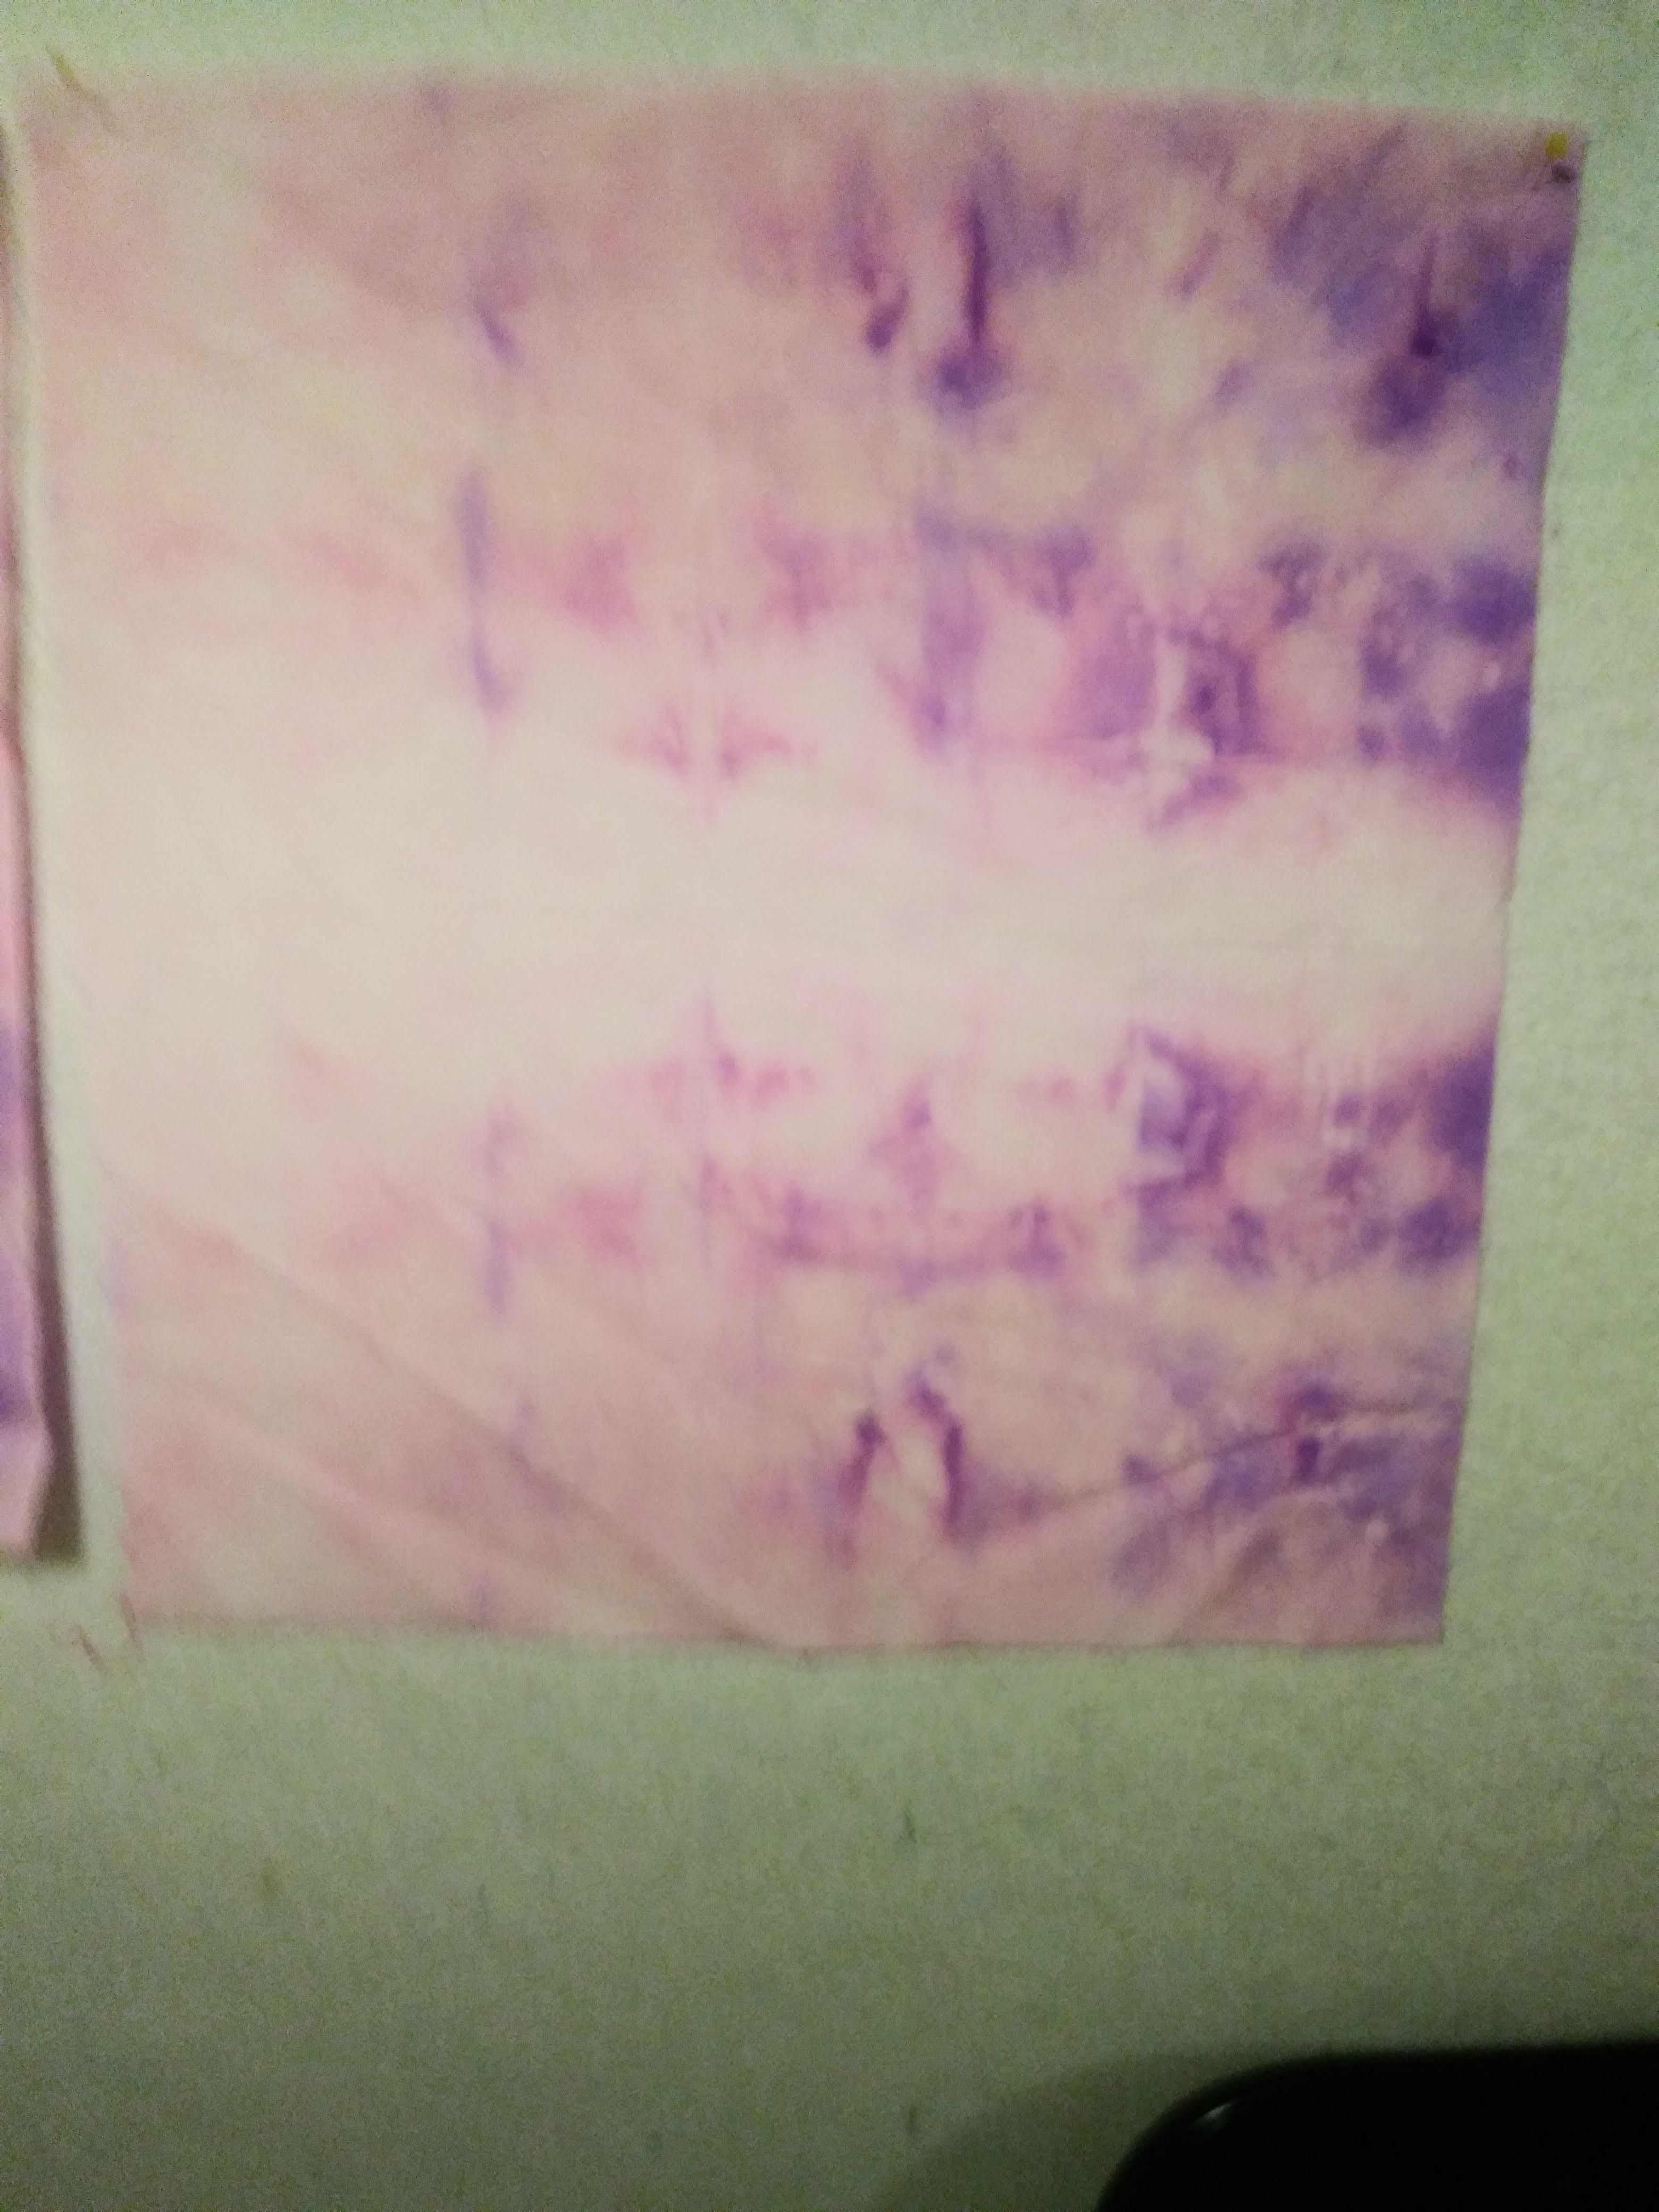
5.  When the snow had completely melted, I rinsed the fabrics.  Please note that the blue, purple, and yellow colours had disappeared together with the snow.  Only the red remained as pink.


6.  When the colour stopped running in the rinse, I put in it the washing machine on a high temperature.


7.  I dried it in the dryer and this is what I got:


Mostly pink fabric with a very faint hint of blue.

Result: Epic fail.

I think that either the fabric was not 100% cotton or the dyes were no longer viable.

The snow has melted and I'm done with snow for this year.


Friday, January 27, 2023

Snow Dyeing Twofer

So we had a big snowstorm a few days ago. 


That's about 25 cm of snow on our patio table.

Yesterday I shovelled.  Today I decided to snow dye.

I went to youtube videos to remind me how to snow dye.  And then decided to ignore the instructions because 

a)  I didn't have soda ash

b) I didn't have pre-treated fabric

c) I didn't have the required dyes.

So aside from the snow, of which I had plenty, I did as follows.

i) soaked three pieces of white fabric (of indeterminate source i.e. not sure if cotton, cotton blend, whatever) and folded in different configurations.


 And put the snow over them.

ii) and here's the twofer - Inbal had made "inks" from the innards of dried markers and a liquid - not sure if water, alcohol, or what to use as a paint medium  I decided to use the liquid from them for my dyes.


There were more colours but the lids had rusted closed, so I stuck with the scarlet, fuschia and magenta (fancy names for variations of red).

I poured these colours over the snow which I had put on top of the fabrics which were resting on a piece of screening over a piece of a former laundry drying frame all of which sat over the laundry sink to enable the dripping snow to go straight into the laundry tub.


 I assume the fabrics will be somewhat dyed, because here's my hand after washing

I asked someone to watch over the process until the snow melts and the results are revealed.

One tip I can give you, if you are dyeing, with different colours, don't do it in one container because the bottom will fill with liquid from the melted snow and the colour will be mud.

I have only snow dyed once successfully for my purposes. 

Now we wait.  

and the results, to be filed away for future use: