I



When my Aunt Zena passed away, I inherited her sewing box. It had several tape measures.

One in particular had this:


...
So I decided to give snow dyeing another chance, this time following the correct procedure (more or less...)https://www.instructables.com/Snow-Dyed-Fabric/
1. I soaked the fabric in soda ash overnight.

2. I drained and folded the fabric and set it out on the rack over the laundry sink.

3. I covered it with snow.

4. I drizzled Jacquard Dyes from a tie dye kit my granddaughter left behind.

5. When the snow had completely melted, I rinsed the fabrics. Please note that the blue, purple, and yellow colours had disappeared together with the snow. Only the red remained as pink.

6. When the colour stopped running in the rinse, I put in it the washing machine on a high temperature.

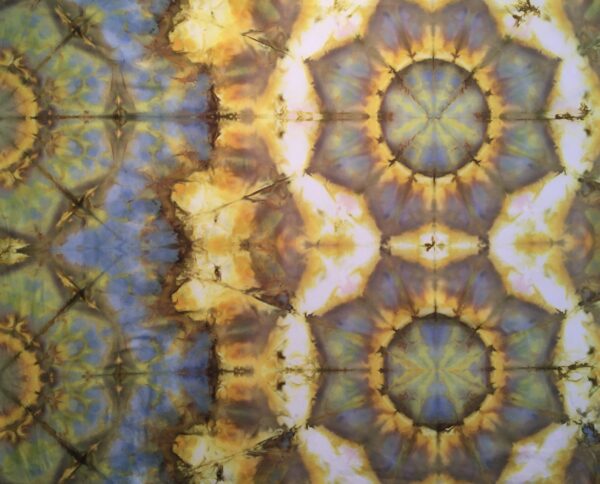
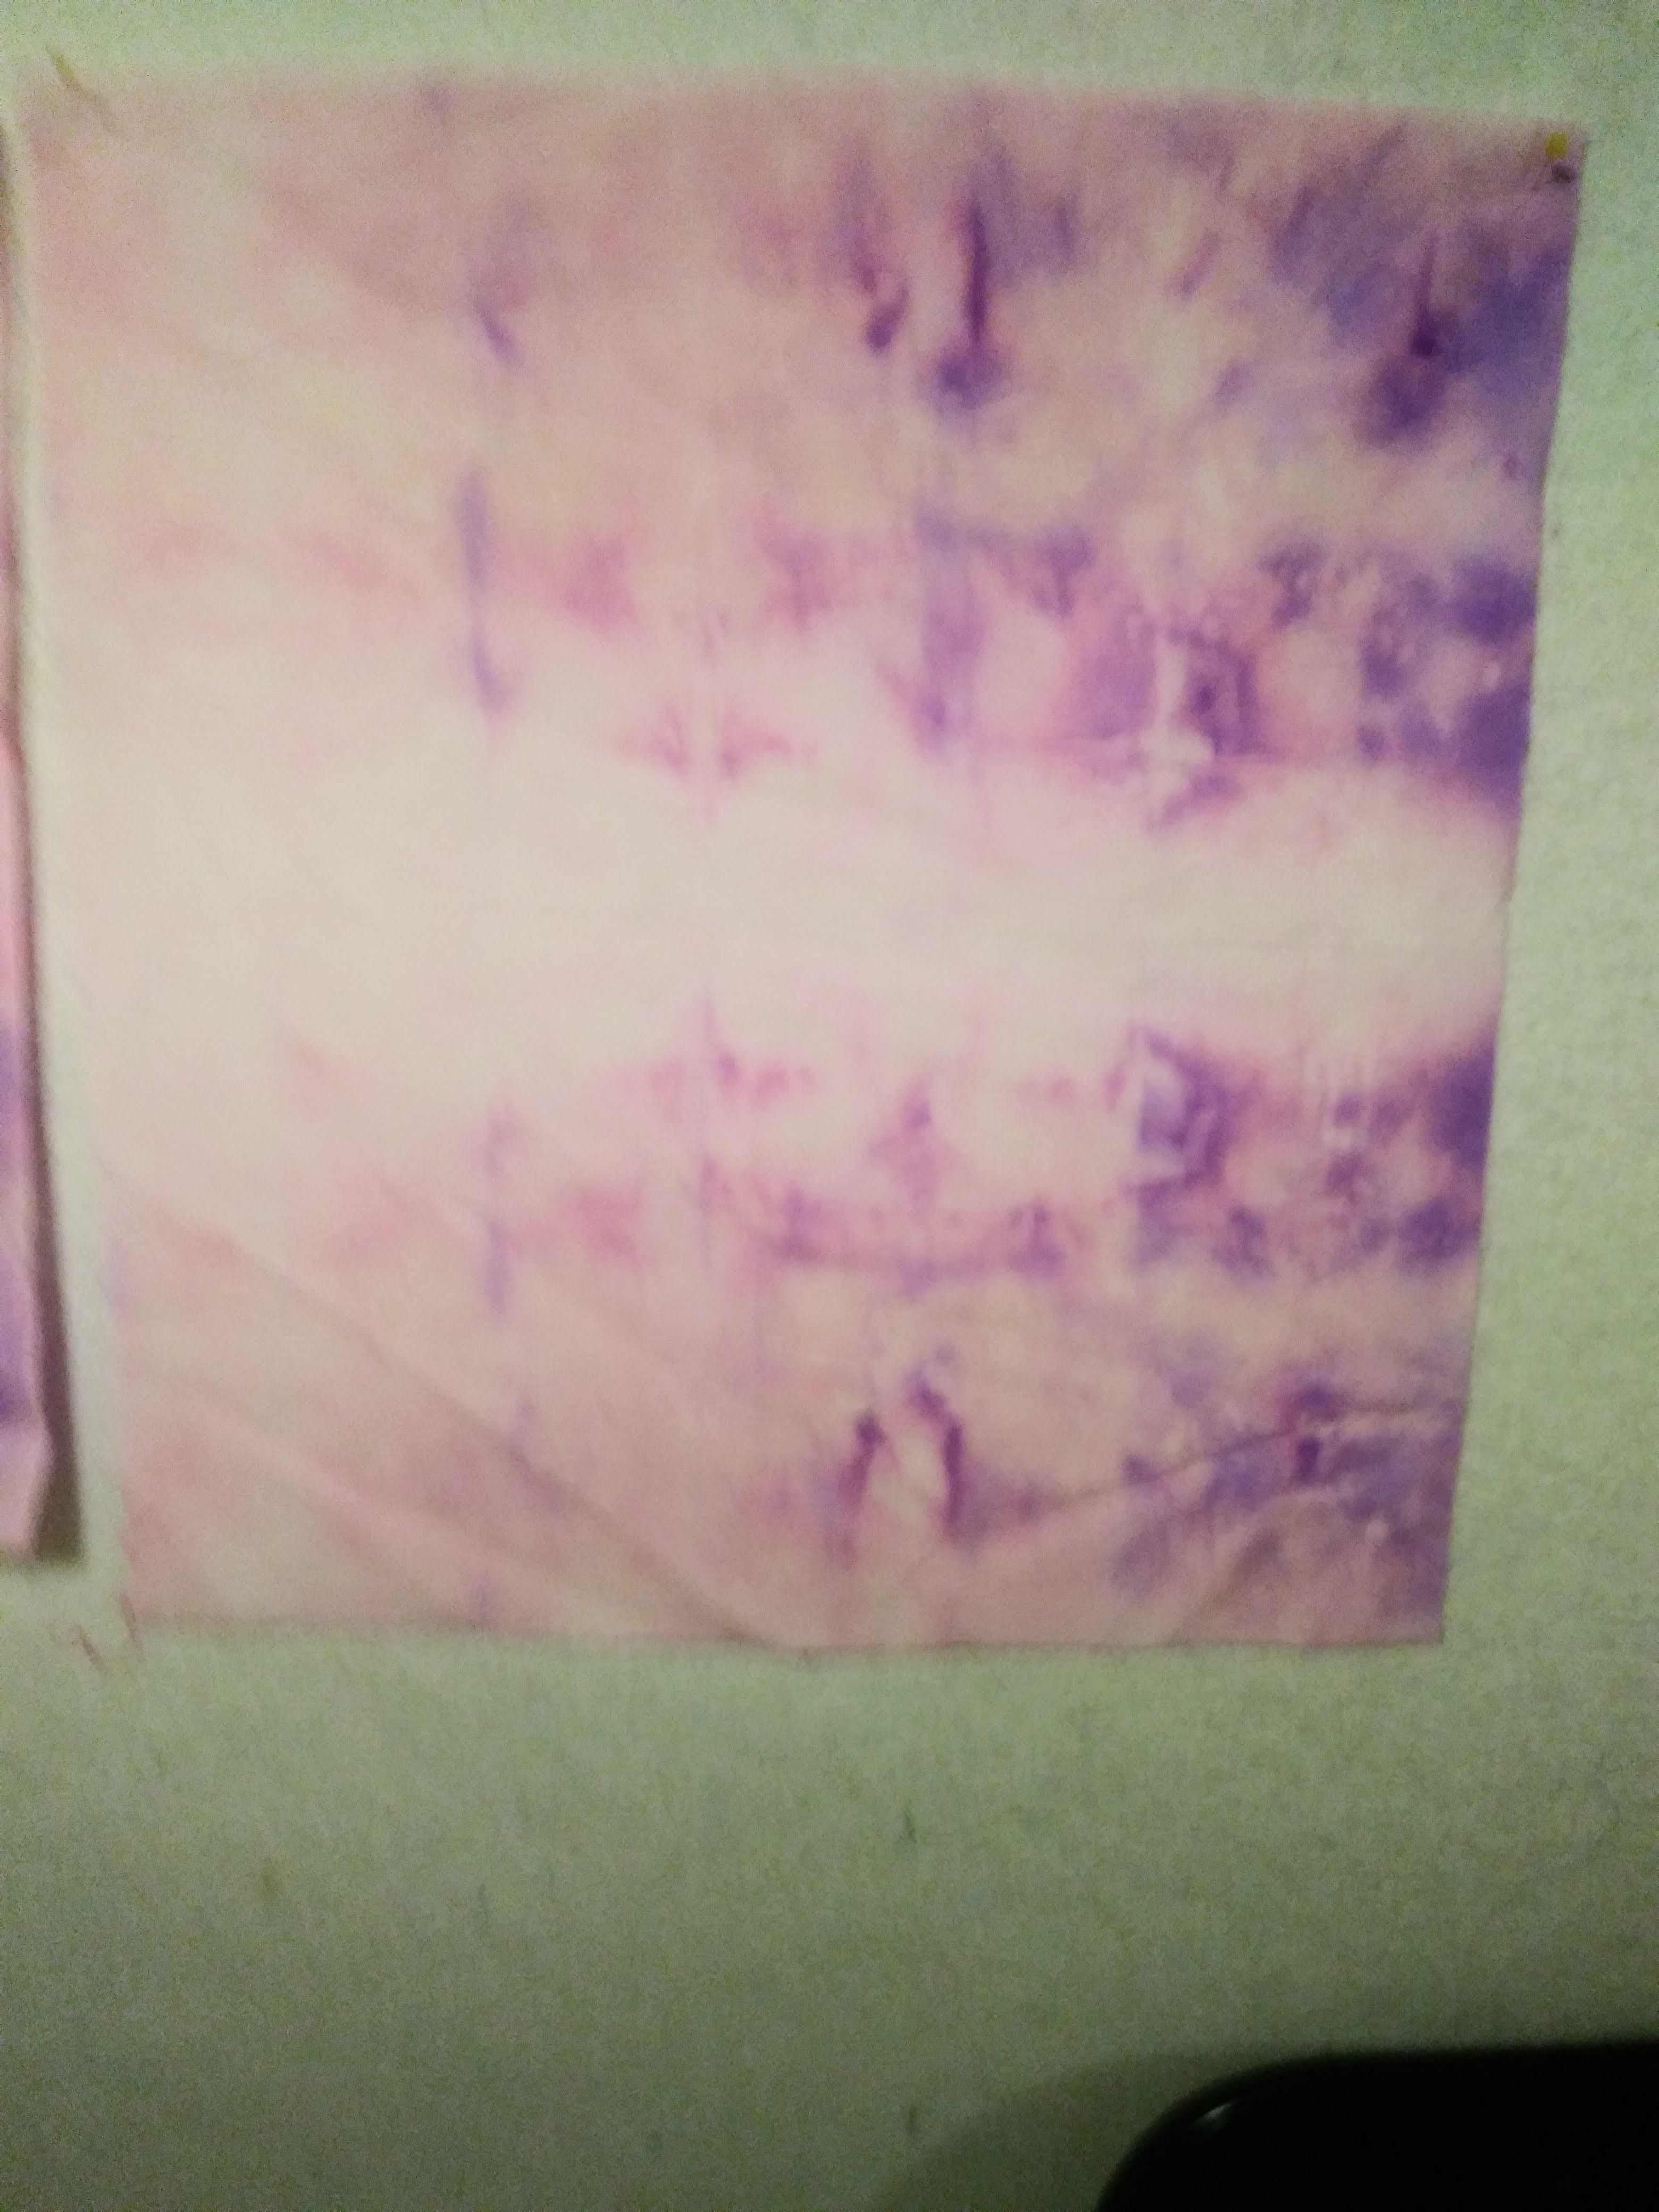
7. I dried it in the dryer and this is what I got:

Result: Epic fail.
I think that either the fabric was not 100% cotton or the dyes were no longer viable.
The snow has melted and I'm done with snow for this year.
So we had a big snowstorm a few days ago.

Yesterday I shovelled. Today I decided to snow dye.
I went to youtube videos to remind me how to snow dye. And then decided to ignore the instructions because
a) I didn't have soda ash
b) I didn't have pre-treated fabric
c) I didn't have the required dyes.
So aside from the snow, of which I had plenty, I did as follows.
i) soaked three pieces of white fabric (of indeterminate source i.e. not sure if cotton, cotton blend, whatever) and folded in different configurations.


ii) and here's the twofer - Inbal had made "inks" from the innards of dried markers and a liquid - not sure if water, alcohol, or what to use as a paint medium I decided to use the liquid from them for my dyes.

There were more colours but the lids had rusted closed, so I stuck with the scarlet, fuschia and magenta (fancy names for variations of red).
I poured these colours over the snow which I had put on top of the fabrics which were resting on a piece of screening over a piece of a former laundry drying frame all of which sat over the laundry sink to enable the dripping snow to go straight into the laundry tub.


I asked someone to watch over the process until the snow melts and the results are revealed.

One tip I can give you, if you are dyeing, with different colours, don't do it in one container because the bottom will fill with liquid from the melted snow and the colour will be mud.
I have only snow dyed once successfully for my purposes.
Now we wait.
and the results, to be filed away for future use:

This is a demonstration for the POM guild on1. how to print onto silk using a laser printer.
Disclaimer 1: I am not an expert on printing of fabric.
Disclaimer 2: I only know how to print onto fabric using a laser printer, in this case black ink only. Maybe for colour laser printers, the method differs.
Disclaimer 3: If I hadn't left this to the last minute, I would have found silk without deep creases in it, I would have taken a better photograph.
The following are the steps:
1. Chose your image - I photographed a poem, "Es Brent", by Yiddish poet Mordechai Gebirtig. The poem was in a book owned by my later Aunt Nechama, a book of Yiddish stenography. Ask me about that one later.

Your image size is limited to the width of the printer paper (8 1/2" X 11").
2. Prepare the freezer paper. Cut a piece of freezer paper the size of regular letter printer paper (8 1/2" X 11").

3. Iron the silk. I used two different silks for the demonstration, a dupionni and a 5mm pongee. Don't precut the silk to 8 1/2" X 11 - it should be slightly larger than the 8 1/2" X 11" freezer paper.

4. Iron the freezer paper onto the silk. Put the shiny side of the freezer paper on top of the silk and iron on the unshiny side the of the paper. (Don't ask me about which side of the silk to iron onto because I can't differentiate between the front and back of the fabric).

5. Cut the fabric - Preferably using a sharp rotary cutter, trim the fabric the the freezer paper size. It is important that the cut be exact i.e. no loose threads because they could gum up the printer and make this whole process very expensive i.e. repairing or replacing the printer... and reiron to make sure the freezer paper is firmly attached.

6. Practice Print - Put an "X" on a piece of printer paper and put the paper "X" up into your printer and print your image onto it. Depending on where the "X"comes out on the paper, you will know how to feed the freezer papered fabric ("FPF") into the printer.

Each printer is different so figure it out before you feed the FPF into the printer. It may differ if you're putting it into the paper tray or feeding it through like for an envelope.
7. Printing onto the fabric - Put the FPF into the printer, cross your fingers, and print.
8. Iron the printed image. - Iron on the printed fabric. I always use a piece of cotton on top of the inked side so that I don't ruin my iron (cheaper than the printer, but still...)


9. Remove the freezer paper from the fabric. From the dupionni, it released easily. From the pongee, it was a little harder.
The fabric can then be used like any other silk fabric, used whole or cut up into smaller pieces.
And so ends my demonstration.
On another note, Devora has bought me some laser printer transfer paper and I will at some point try that method as well. I believe that in that one, you print the image onto the transfer paper and then iron the printed image onto the fabric. It may have advantages because you can print onto smaller and/or irregular sized fabric pieces.
An idea for an Omer counter has been percolating since before Pesach last year when Mintzy asked me if I had any use for her metal sewing machine bobbins. With her bobbins and my bobbins, we had more than 49 - enough for an Omer calendar. I saw this one made by Studio Gruss in New York:

I wanted mine to be textile related and in parts that could be dismantled to fit into a compact box, something like this travelling Shabbat candle box I made for a Pomegranate Exhibit. It was made based on a large match box holder and contains a wooden candle holder with two holes for tea light candles, room for additional candles under the holder and a smaller match box.

I kind of know what I want to do and I think I will use this cigar box as my container.